InvokeAI Docker#
InvokeAI is an implementation of Stable Diffusion, the open source text-to-image and image-to-image generator. It provides a streamlined process with various new features and options to aid the image generation process.
Quick Start#
Download and unzip the installer from the bottom of the latest release.
Run the installer script.
Windows: Double-click on the
install.batscript.macOS: Open a Terminal window, drag the file
install.shfrom Finder into the Terminal, and press enter.Linux: Run
install.sh.
When prompted, enter a location for the install and select your GPU type.
Once the install finishes, find the directory you selected during install. The default location is
C:\Users\Username\invokeaifor Windows or~/invokeaifor Linux/macOS.Run the launcher script (
invoke.batfor Windows,invoke.shfor macOS and Linux) the same way you ran the installer script in step 2.Select option 1 to start the application. Once it starts up, open your browser and go to http://localhost:9090.
Open the model manager tab to install a starter model and then you’ll be ready to generate.
More detail, including hardware requirements and manual install instructions, are available in the installation documentation.
Manual Install#
# Windows (PowerShell)
mkdir invokeai
cd invokeai
python -m venv .venv --prompt InvokeAI
.venv\Scripts\activate
pip install InvokeAI --use-pep517 --extra-index-url https://download.pytorch.org/whl/cpu
set HF_ENDPOINT=https://hf-mirror.com
invokeai-web
Docker#
Important: Ensure that Docker is set up to use the GPU. Refer to NVIDIA or AMD documentation.
docker run --runtime=nvidia --gpus=all --publish 9090:9090 ghcr.io/invoke-ai/invokeai
Runtime Environment#
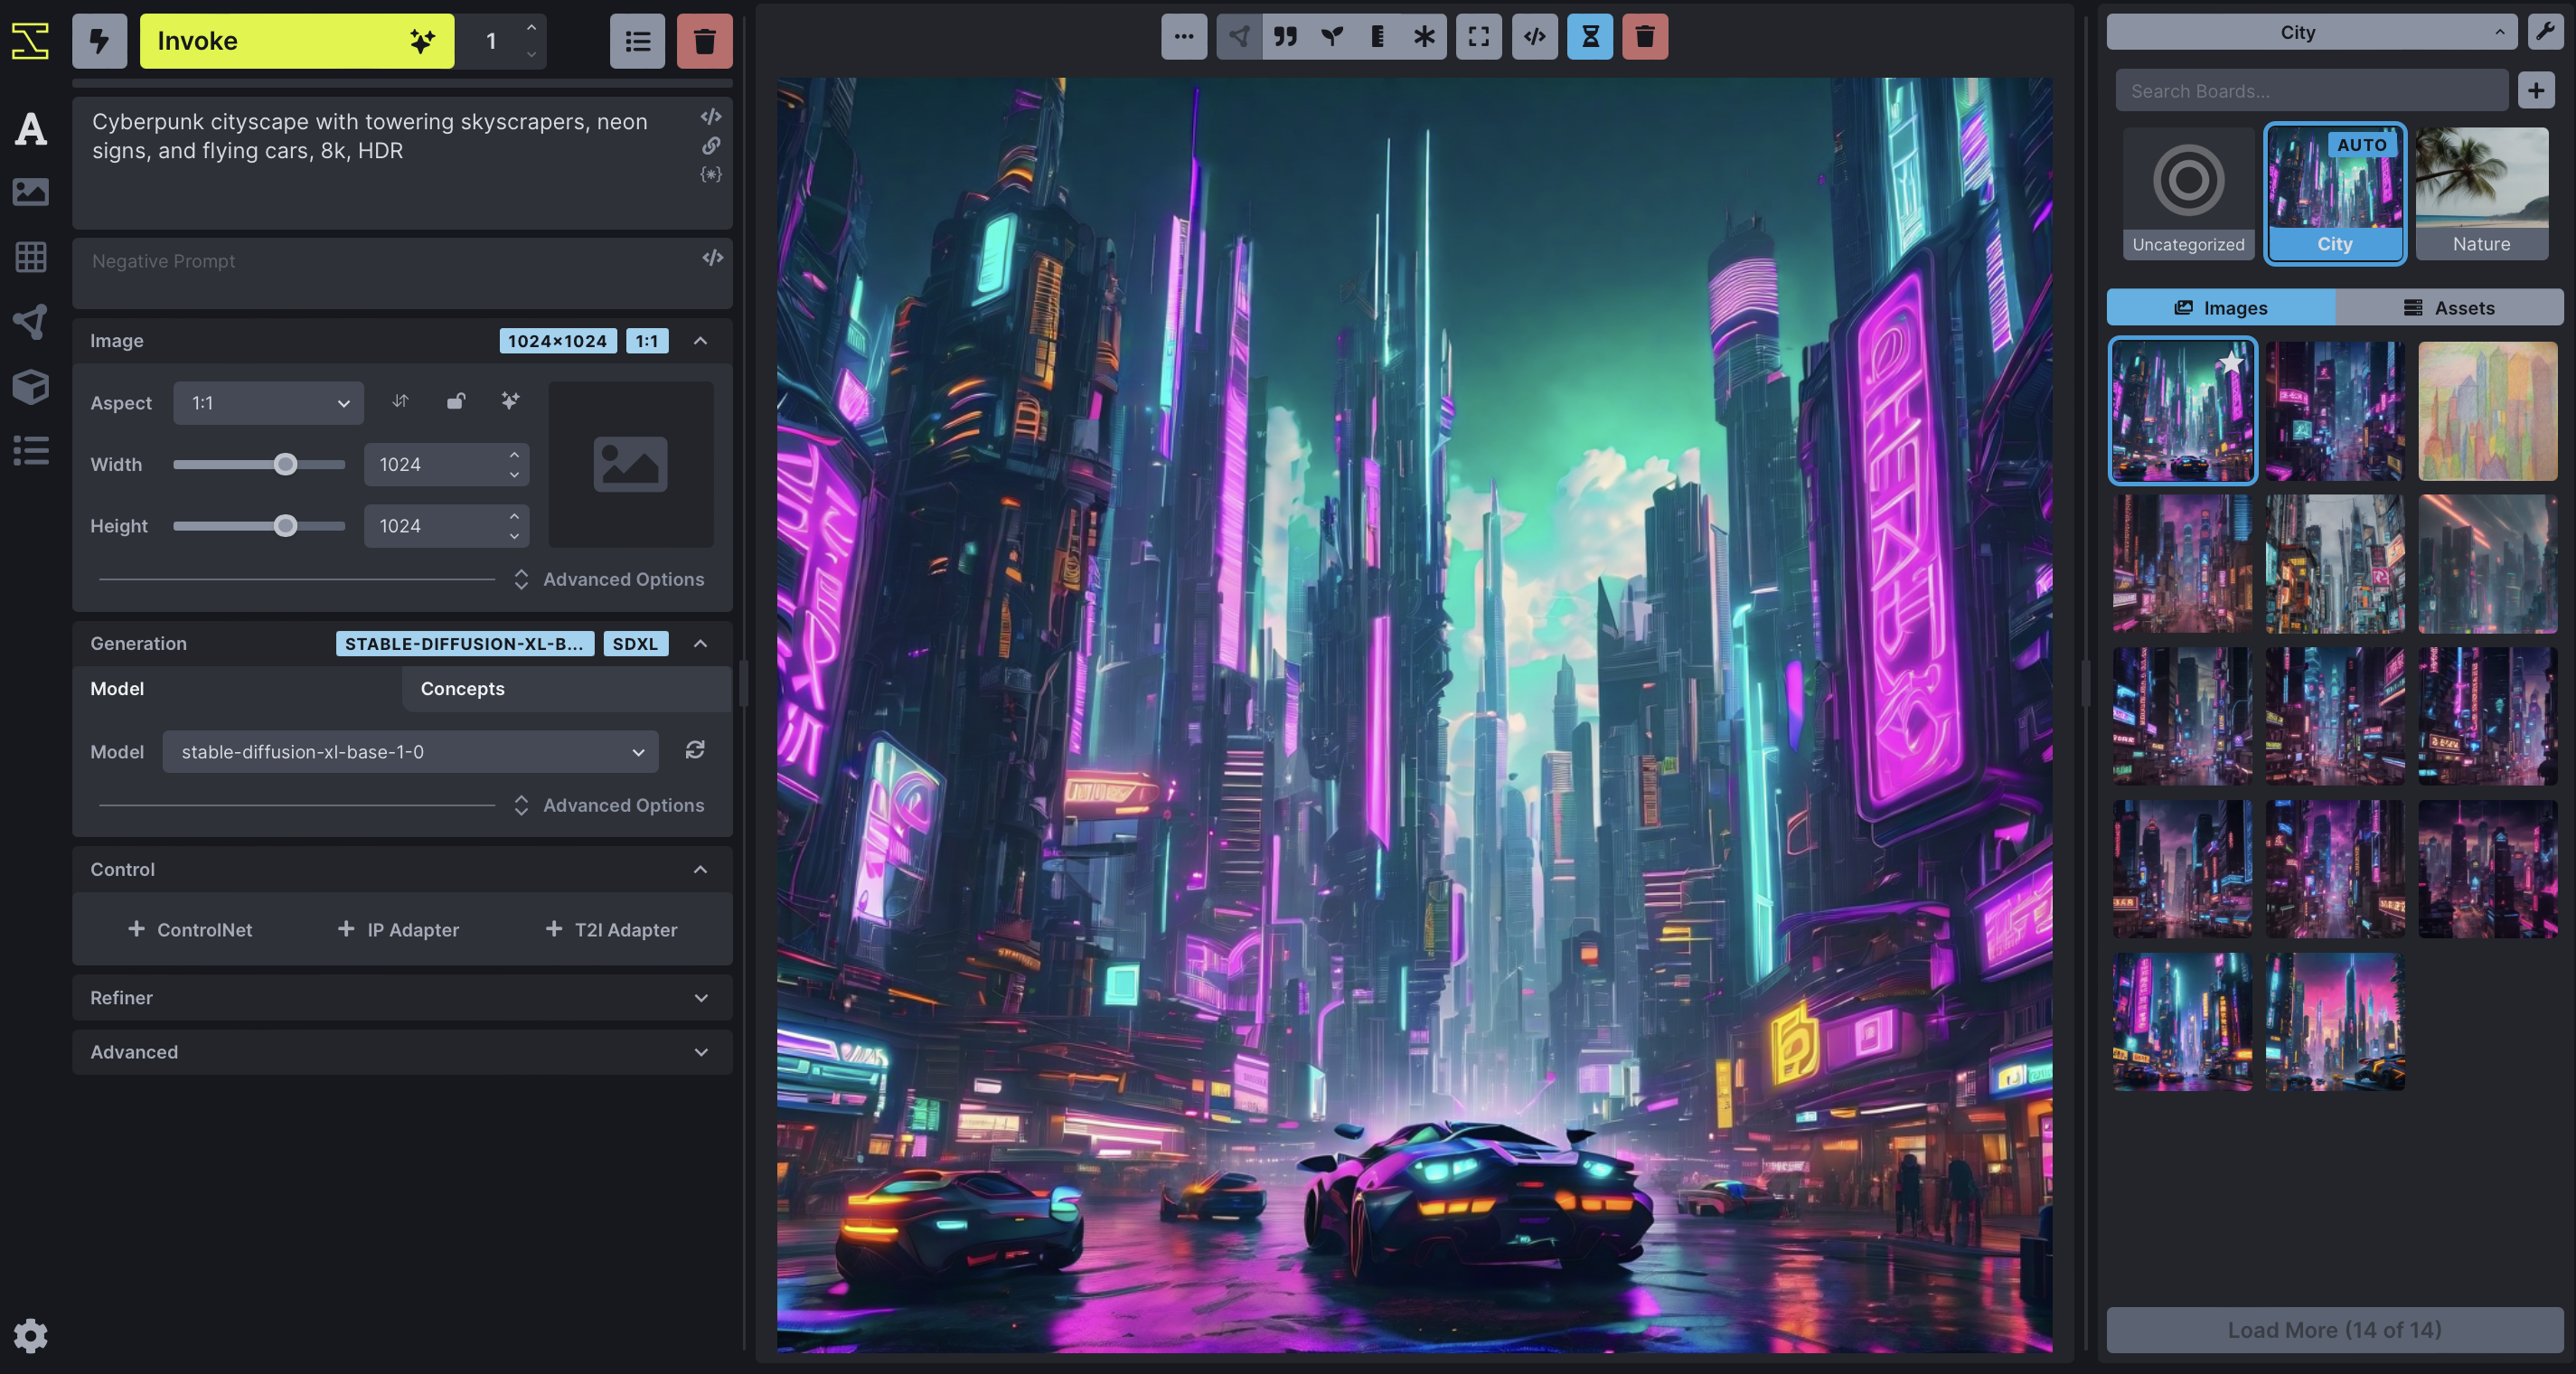
Screenshots#